Cura Help
Cura Overview
Cura Controls
Adjusting Models
Move
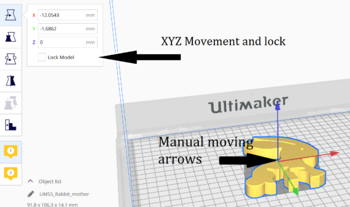
Can move the model manually using the arrows or set in specific coordinates (Moving manually much easier)
- Lock model makes your model not able to accidentally be moved
- Moving things outside the boundaries set by the specific Ultimaker makes the item be grayed out and won't be printed.
- The XY coordinates (0,0) refers to the center of the build plate in Cura.
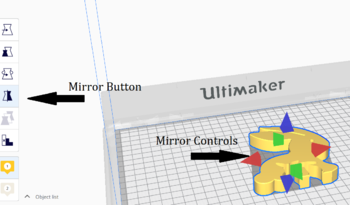
Mirror
Flip a model in one of the XYZ directions.
Rotate
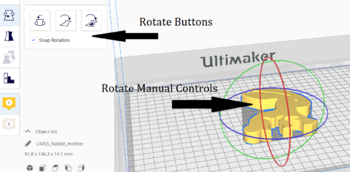
Turn a model along the XYZ axis designated by circles around model.
- Automatically rotates at 15 degree angle, holding shift or disabling “Snap Rotation” option lets you rotate at 1 degree
- Left option is to reset to original and middle is to lay flat – does it’s best to lie it flat based on current rotation, right most is click a side to lay flat
Scale
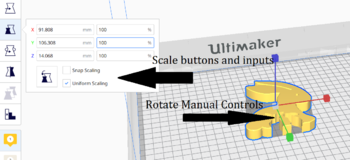
Change size of model in one of XYZ directions. Can drag out using the arrows or type in values or percents.
- Uniform scaling means stay consistent upon all directions
- Snap scaling means only scale by 1% increments
- Button is to reset to normal
Support
Support is used to build up to any part of the print that is overhanging over nothing. It should be used when you have any overhang at more than a 45 degree angle away from the rest of the print. You might need support used even when it is less than 45 degrees, each build is different.
You can change the settings of how much support you want printed by going into the custom settings and under support. The Support Overhang Angle setting works by any angle below it will have support under it. For example: 0 means no support will be printed and a setting of 89 means that only bridges will be printed (straight overhangs).
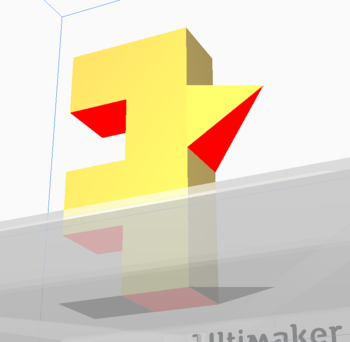
When looking at your print, you can see if it needs support if you look under it and see red coloring.
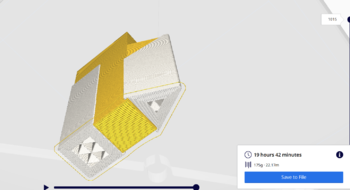
One check you should always make when printing is checking the support building. This can be done after clicking slice and letting it load, you can click preview on the top bar. This view will show you everything that will be printed from the individual layers to the the support under it. Checking this can make sure you're print wont fail because missing support
Two options for support placement:
- Support Everywhere: Support will be printed everywhere you have overhangs, even if support needs to be printed on top of your print
- Touching Buildplate: Only print support that would be started on the buildplate.
Differences between types of support - Everywhere on the left, touching buildplate on the right
For some more information: Support Website
