Visual Studio
Follow these steps to get Visual Studio set up for the first time on a UMIACS-supported Windows desktop.
Steps
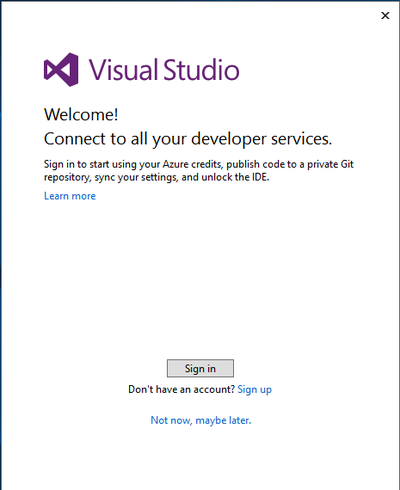
- Launch Visual Studio 2015 Community Edition. You will be presented with the following page:
- If you already have a Microsoft account, go to step 6. Otherwise, proceed to step 3.
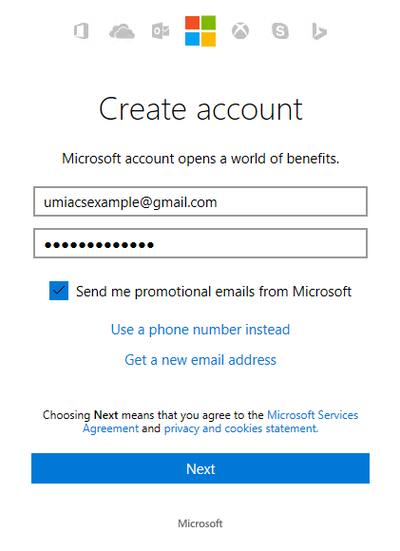
- Click "Sign up" to create a new Microsoft account. Enter a personal email (i.e. Gmail, Yahoo, etc.) and password to continue. University emails will not work. Click Next.
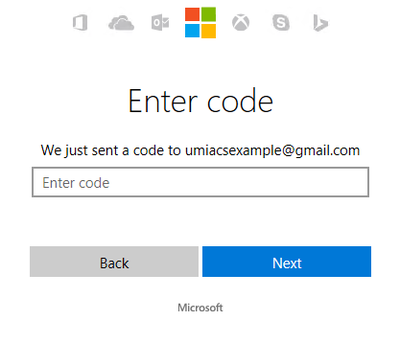
- Check your email for the indicated code and enter it to activate your account. Click Next.
- Complete the provided captcha to finish creating the account. Return to Visual Studio and proceed (as indicated).
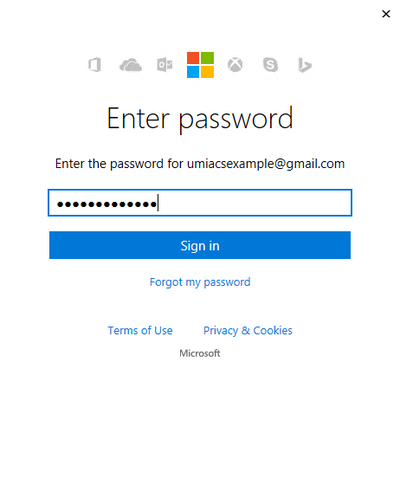
- Click "Sign in" to sign in with your Microsoft account.
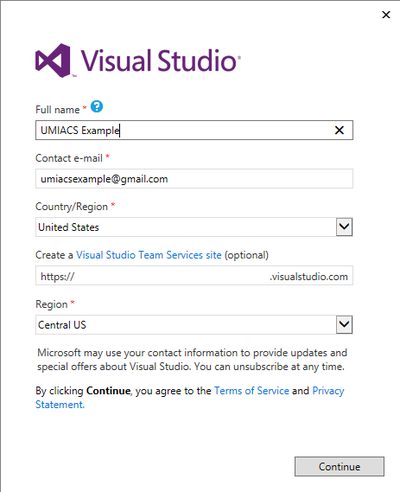
- Fill in your Full Name to complete the Visual Studio registration. Click Continue.
- Complete the preferences to your liking and click Continue. Visual Studio will prepare for first use and then launch.
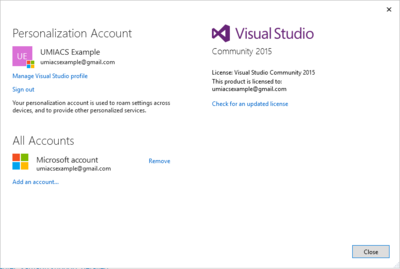
- Click the drop-down arrow in the top right of Visual Studio next to your name and select "Account Settings..." This will show you that the license has been activated under your account and allows you to add other accounts if you see fit.
- Visual Studio is now ready for use!
